How to train your own custom GPT
A guide for Product Designers
The following is an adaptation of a presentation I gave to our design team at Waitrose recently.
You can view the (adapted) slides here
Problem statement
Product Designers are required to assimilate and retain vast amounts of information from diverse sources. This includes staying up-to-date with market trends, consumer feedback, internal project details, and industry innovations. Managing this information efficiently is challenging; crucial details can be overlooked, and recalling specific information on demand becomes increasingly difficult. Such challenges can hinder our ability to make informed decisions quickly and innovate effectively.
Solution
To address these challenges, I will show you how to create a custom GPT inside of the chatgpt.com web environment, tailored specifically to your needs as a Product Designer working on a particular project. This will streamline and optimise your daily workflow in the following ways:
Synthesised Information
Automatically compiling and summarising market trends, consumer feedback, and other relevant data into actionable insights.
Enhanced Recall
Providing instant access to important information and past project details through simple prompts, reducing the risk of oversight.
Supported Decision-Making
Offering data-driven recommendations and forecasts that help us make informed decisions swiftly.
Fostering Innovation
Freeing up our cognitive resources from routine information management tasks, allowing more focus on creativity and innovation.
Before we dive into ChatGPT, let’s discuss some of the steps and principles we should consider when creating a custom GPT.
Data Preparation
The first step towards creating an effective GPT is to carefully prepare a data set for it to be trained on. Typically this will be the information you want the GPT to learn, as well as guidance for how it should behave.
For Product Designers this could be user research findings gathered during early product discovery, as well as the project scope and wider market data.
The dataset should be high quality, relevant and formatted in a way that the GPT can read. I suggest extracting raw text from PDFs and PPT files, before uploading to the GPT (which we will do together later).
Ethical Considerations
We must remain responsible and instruct our GPT on how to handle the data we feed it. This is especially relevant when working with real data that might breach GDPR or customer privacy laws. I recommend handling real-world data with caution if you want to stay compliant and always consult your company's security and compliance teams if in doubt.
As part of the dataset that you will upload to the GPT, I recommended preparing an "Ethical Considerations" document that outlines to the GPT exactly how to handle any sensitive information.
Evaluation & Fine-Tuning
Once our GPT is born, we will want to test it with some real world prompts and fine tune it if necessary.
We'll prompt our GPT to test its accuracy, relevance and compliance. This will give us the opportunity to refine the dataset if necessary and reevaluate.
Let’s Make a custom GPT!

Note: creating your own GPT is only available on the ChatGPT paid plan.
- Navigate to chatgpt.com and log in.
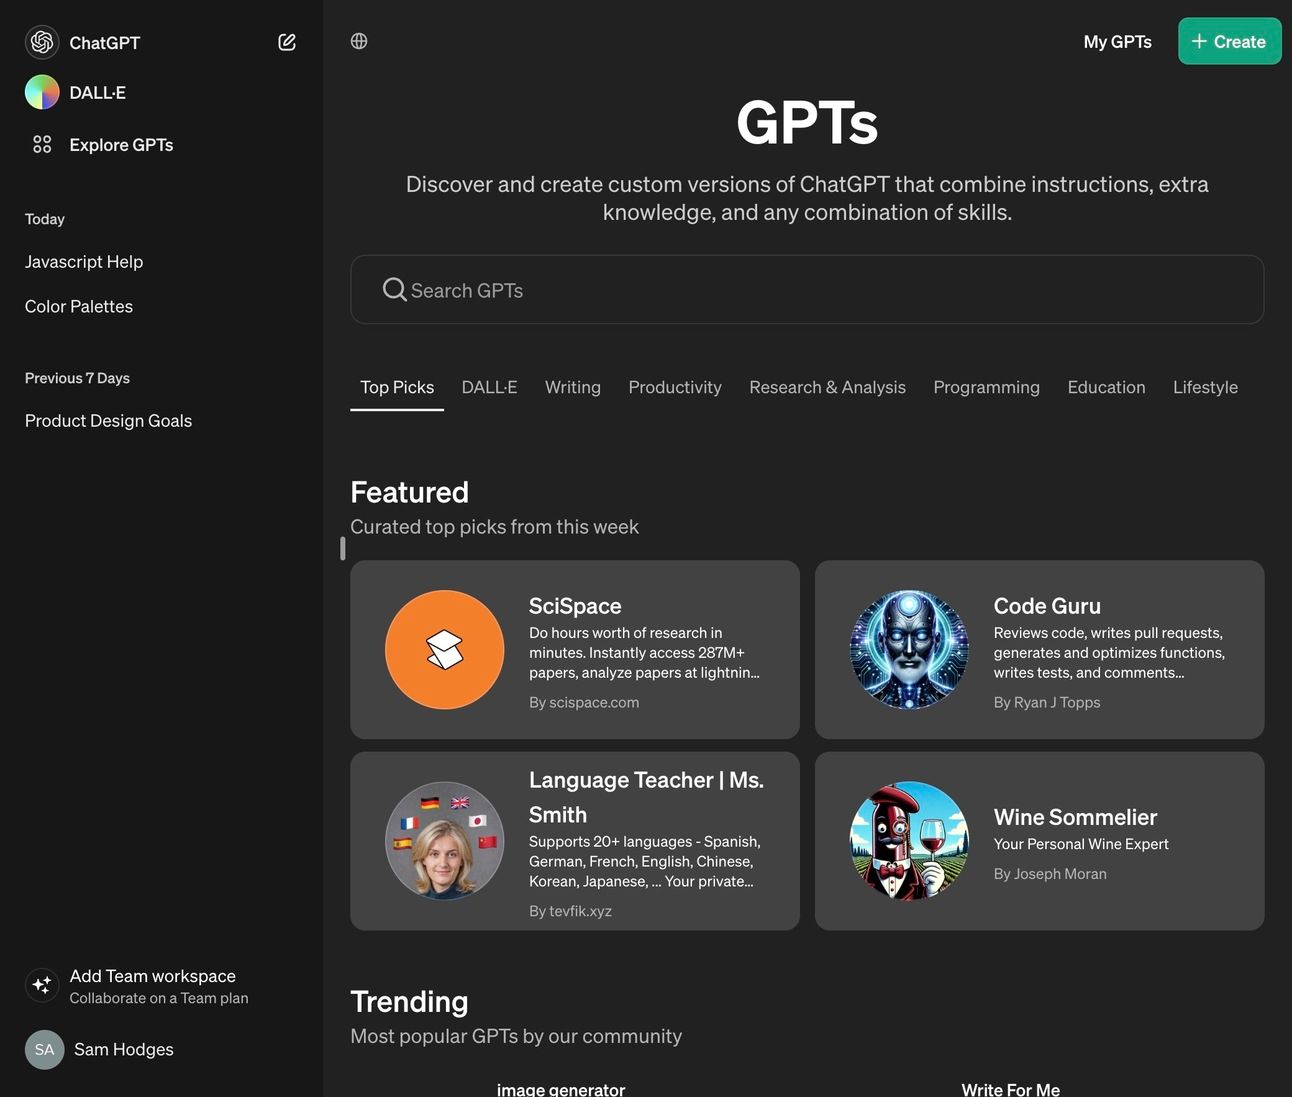
- In the top left of the widow, navigate to "Explore GPTs". Here you’ll find find the full library of GPTs created by ChatGPT users, as well as ones created by the ChatGPT team.
- Tap “+Create” in the top right of the window.
You’ll now be in the custom GPT builder environment. This is where we’ll communicate with the “GPT Builder” with instructions on what we want to create.
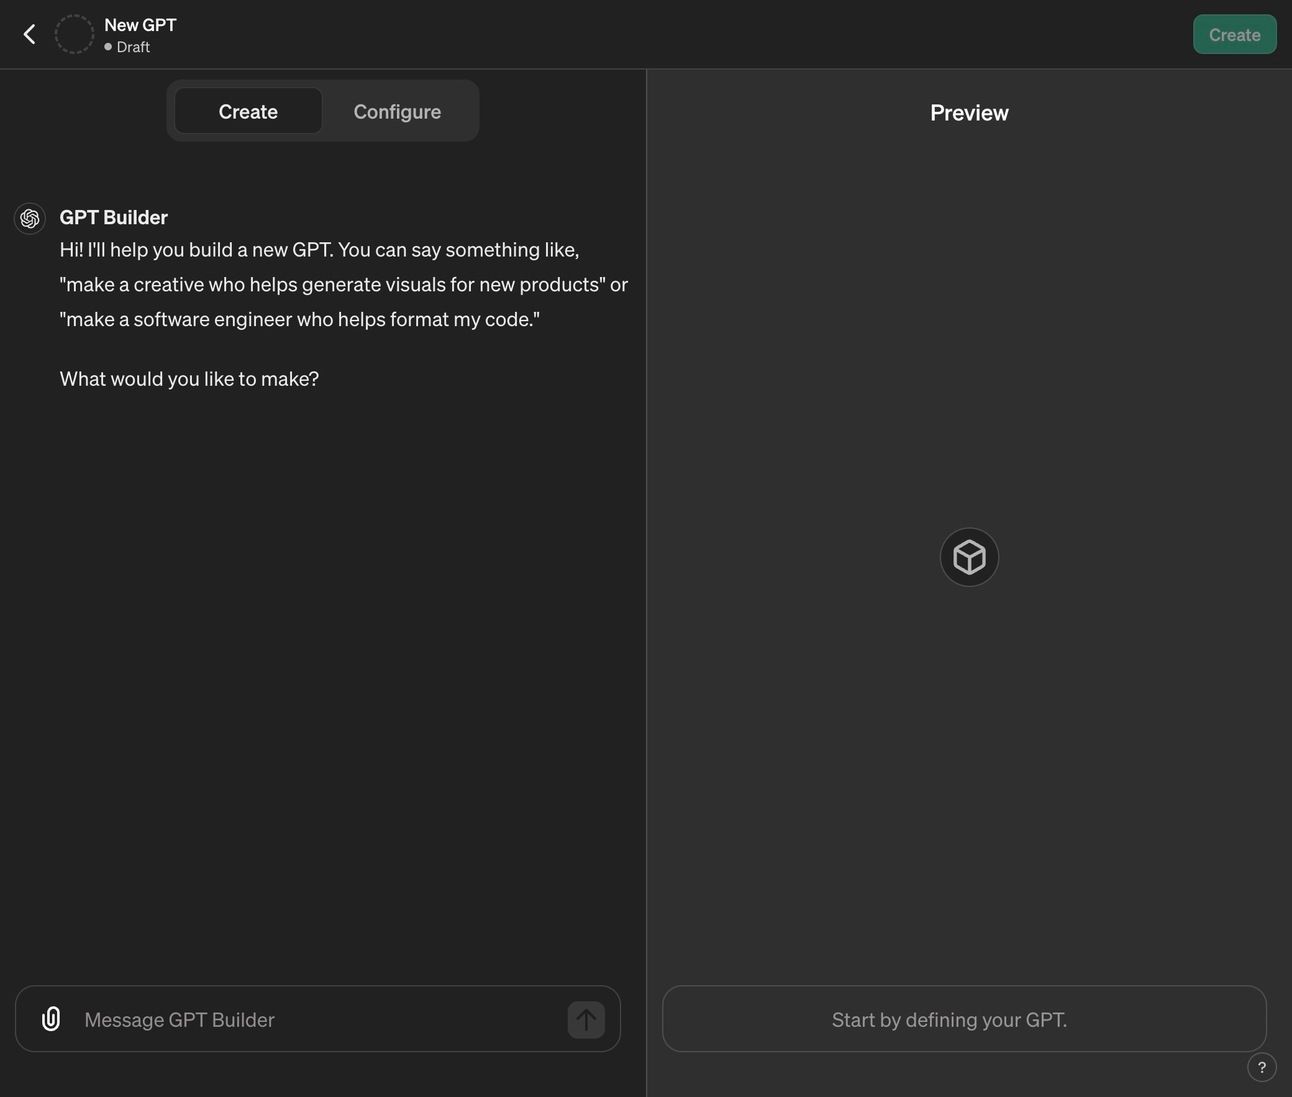
In our case we are going to create a hypothetical "Product Design Assistant for LuxeVoyage Digital Experiences."
- Message the GPT Builder with instructions on what you want to create. Use this prompt: "Create a GPT to act as my expert assistant in product design. I am a senior product designer working for a luxury travel company called ‘LuxeVoyage Digital Experiences’. The GPT must be an expert in the practise of product design, as well as the luxury travel market. I will also upload documents related specifically to the company I work for and project I am working on, so that the GPT can understand the scope of my work and reference this material, provide justifications for design decisions when consulted."
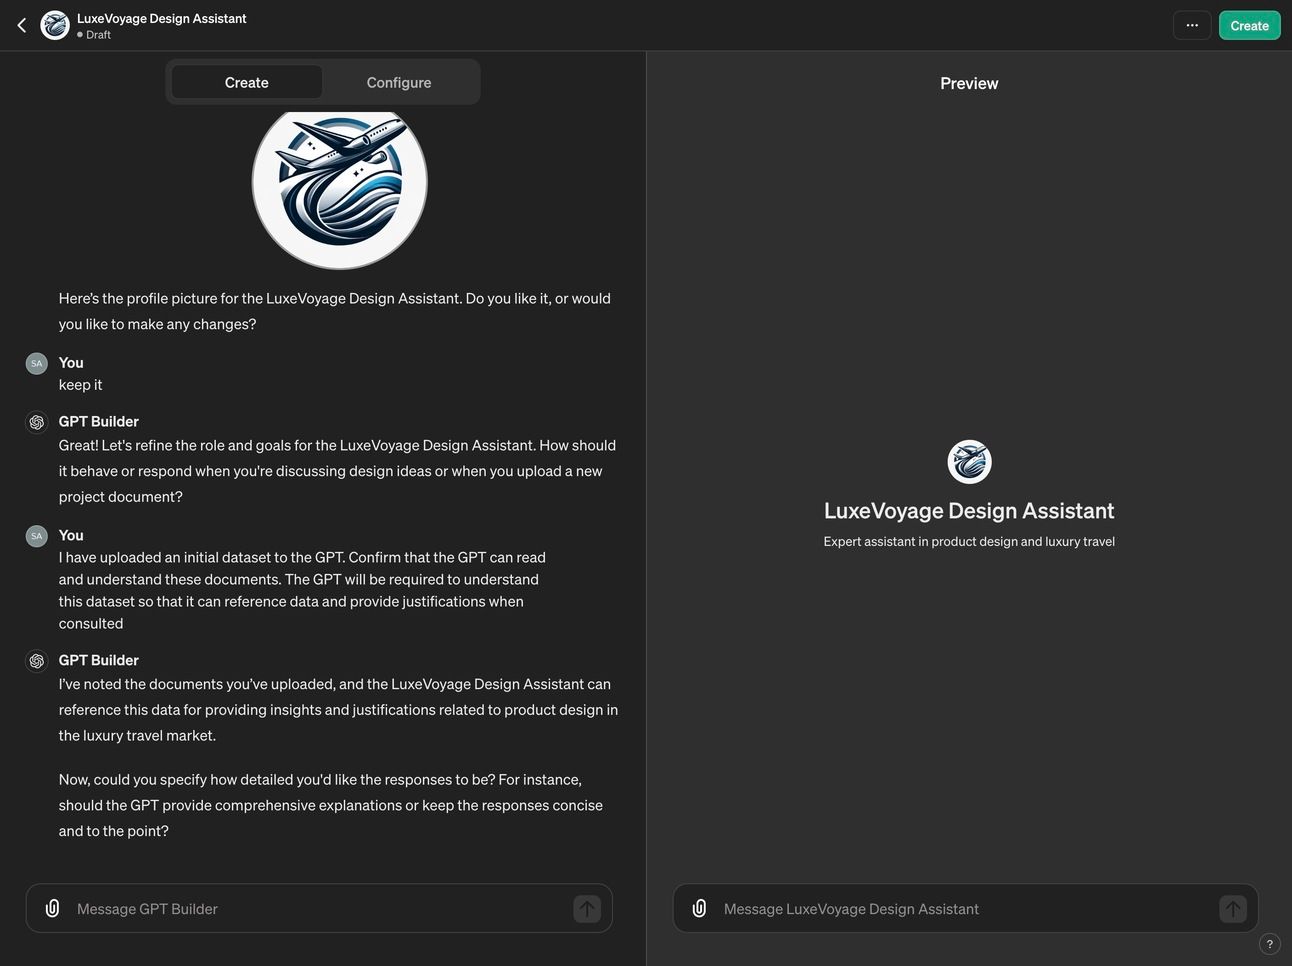
- After this initial prompt, the GPT Builder will suggest a name and profile photo for the GPT.
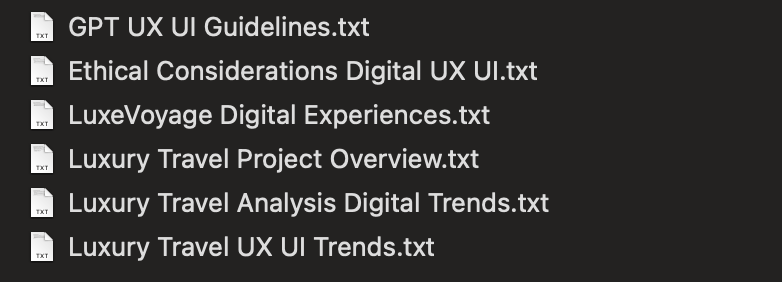
- Once you have a agreed a name and photo, it's time to upload our dataset. Our dataset for this example contains 6 simple text documents that I recommend as a minimum:
- GPT Guidelines - General instructions for how the GPT should interact with you and what we expect of it.
- Ethical Considerations - Guidelines on ethical AI use in product design.
- Company Profile - A fictional overview of your luxury travel company.
- Current Project Overview - Details of a fictitious current design project.
- Luxury Travel Market Analysis - Analysis of the luxury travel market trends and competitors.
- Product Design Trends in Luxury Travel - Information on current product design trends in the luxury travel sector.
- Navigate to the “Configure” tab and upload each document.
- Navigate back to the “Create” tab where we’ll check that the GPT can read and understand our data. Use the following prompt: “I have uploaded an initial dataset to the GPT. Confirm that the GPT can read and understand these documents. The GPT will be required to understand this dataset so that it can reference data and provide justifications when consulted”.
- We should receive a positive response for the GPT Builder which confirms everything is understood.
- You can interact with the GPT Builder further at this point to refine how you want it to behave.
- Hit the “Create” button (top right) and set the GPT to be available to “Only me”. As this is a project specific personal assistant, we don’t want it to be available on the public GPT library.
Our basic dataset

Your custom GPT will now be available in your ChatGPT account and you will be able to communicate with it directly for any assistance during your work.
Before we wrap up, let’s just test its working. Use the following prompt:
“Tell me about the company I work for and the project I am working on.”
The response should confirm that the custom GPT is referencing the data set ok.
Let’s test it further with a real-world scenario:
“What design opportunities should I be investigating for this project?”
Our GPT should be equipped to interpret our dataset and provide intelligent recommendations for us to pursue as designers.

The utility of your GPT depends largely on the quality of the dataset you train it on. For this demo, our dataset was small and simple. For a real example, experiment with a larger and more detailed dataset.
Maintenance and iterations
Finally, it’s a good idea to plan ongoing iterations to ensure that your new GPT remains effective and reliable over time. I suggest:
- Updating the dataset as the project evolves
- Periodically monitoring the GPT’s accuracy
- Testing its compliance to your ethical considerations document
- Implementing ways to automate its data harvesting and output
This guide only starts to scratch the surface of how you can create custom interactions with ChatGPT to optimise your workflow. With some additional knowledge you can begin to explore how to interact with ChatGPT’s API, which opens up endless possibilities for custom assistant apps and solutions.
